
Process

1.
1.
1.
Create in wax
Create in wax
Create in wax
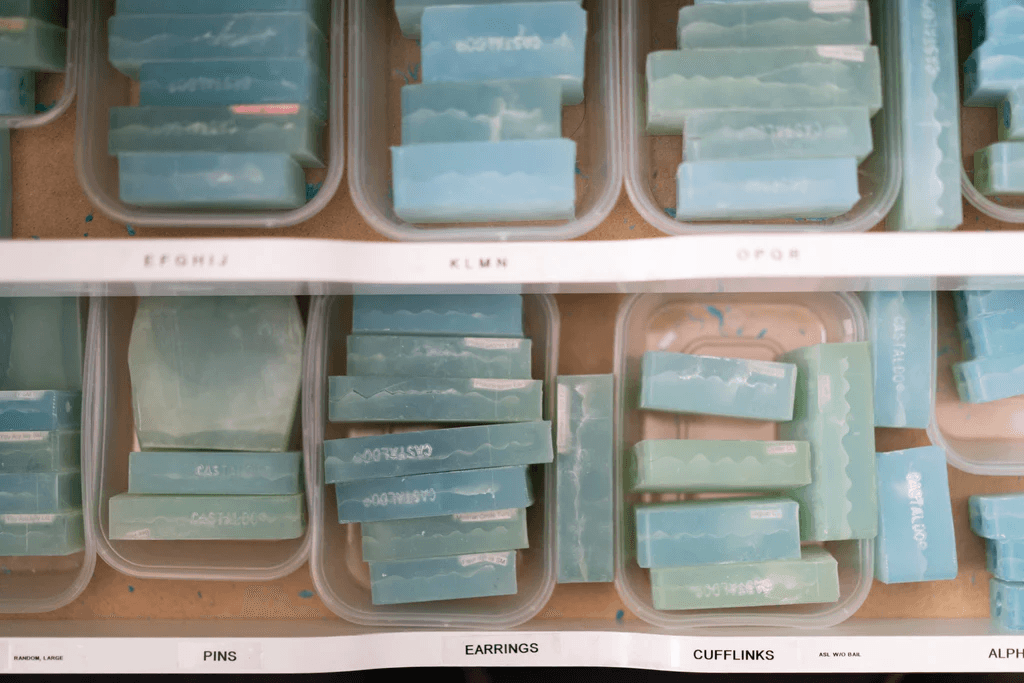
The jewelry, as it will be in metal, is cared in wax
The jewelry, as it will be in metal, is cared in wax
The jewelry, as it will be in metal, is cared in wax
2.
2.
2.
Take a mold
Take a mold
Take a mold
The original wax carving or metal “master” is molded in a silicone type mold. From that mold, duplicates of the “master” can be reproduced.
The original wax carving or metal “master” is molded in a silicone type mold. From that mold, duplicates of the “master” can be reproduced.
The original wax carving or metal “master” is molded in a silicone type mold. From that mold, duplicates of the “master” can be reproduced.

3.
3.
3.
Build a tree
Build a tree
Build a tree
The wax duplicates of the master are melted to a core or “sprue.”
The wax duplicates of the master are melted to a core or “sprue.”
The wax duplicates of the master are melted to a core or “sprue.”
4.
4.
4.
Invest
Invest
Invest
The wax tree is encased in a plaster-like mold material called “investment.” This material hardens to make a solid shell around the wax
The wax tree is encased in a plaster-like mold material called “investment.” This material hardens to make a solid shell around the wax
The wax tree is encased in a plaster-like mold material called “investment.” This material hardens to make a solid shell around the wax

5.
5.
5.
Burnout
Burnout
Burnout
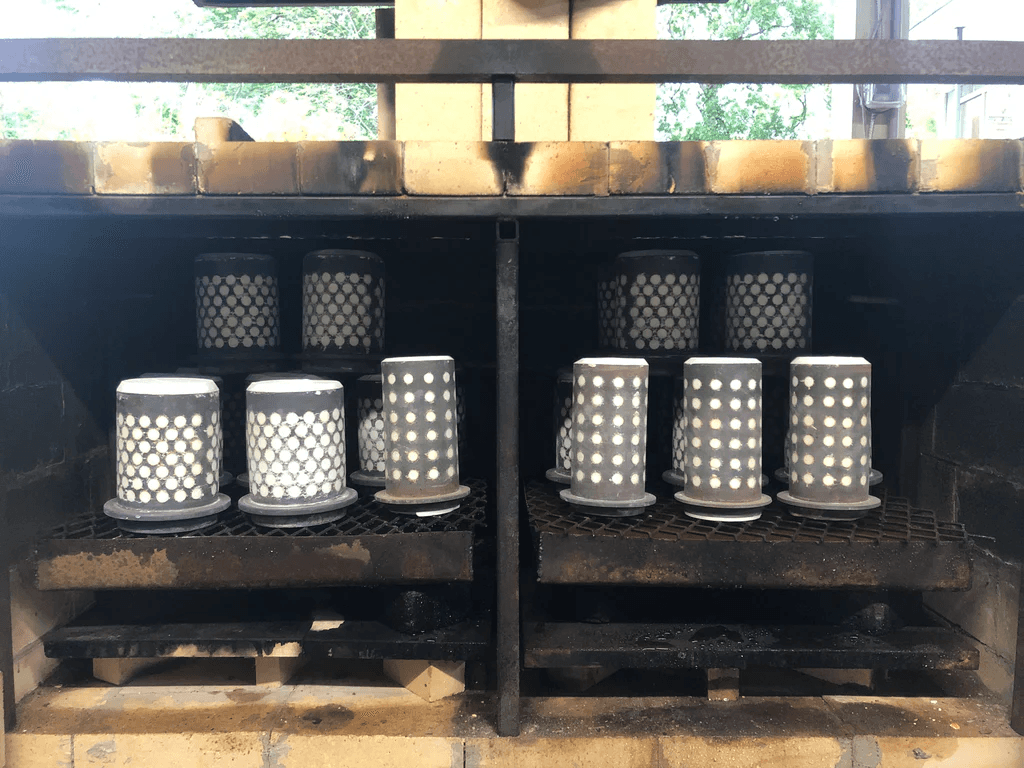
The invested mold is turned upside down and placed in a kiln to burn out the wax tree inside. This is the “lost wax” part, and a void is created for pouring in the metal.
The invested mold is turned upside down and placed in a kiln to burn out the wax tree inside. This is the “lost wax” part, and a void is created for pouring in the metal.
The invested mold is turned upside down and placed in a kiln to burn out the wax tree inside. This is the “lost wax” part, and a void is created for pouring in the metal.
6.
6.
6.
Pour
Pour
Pour
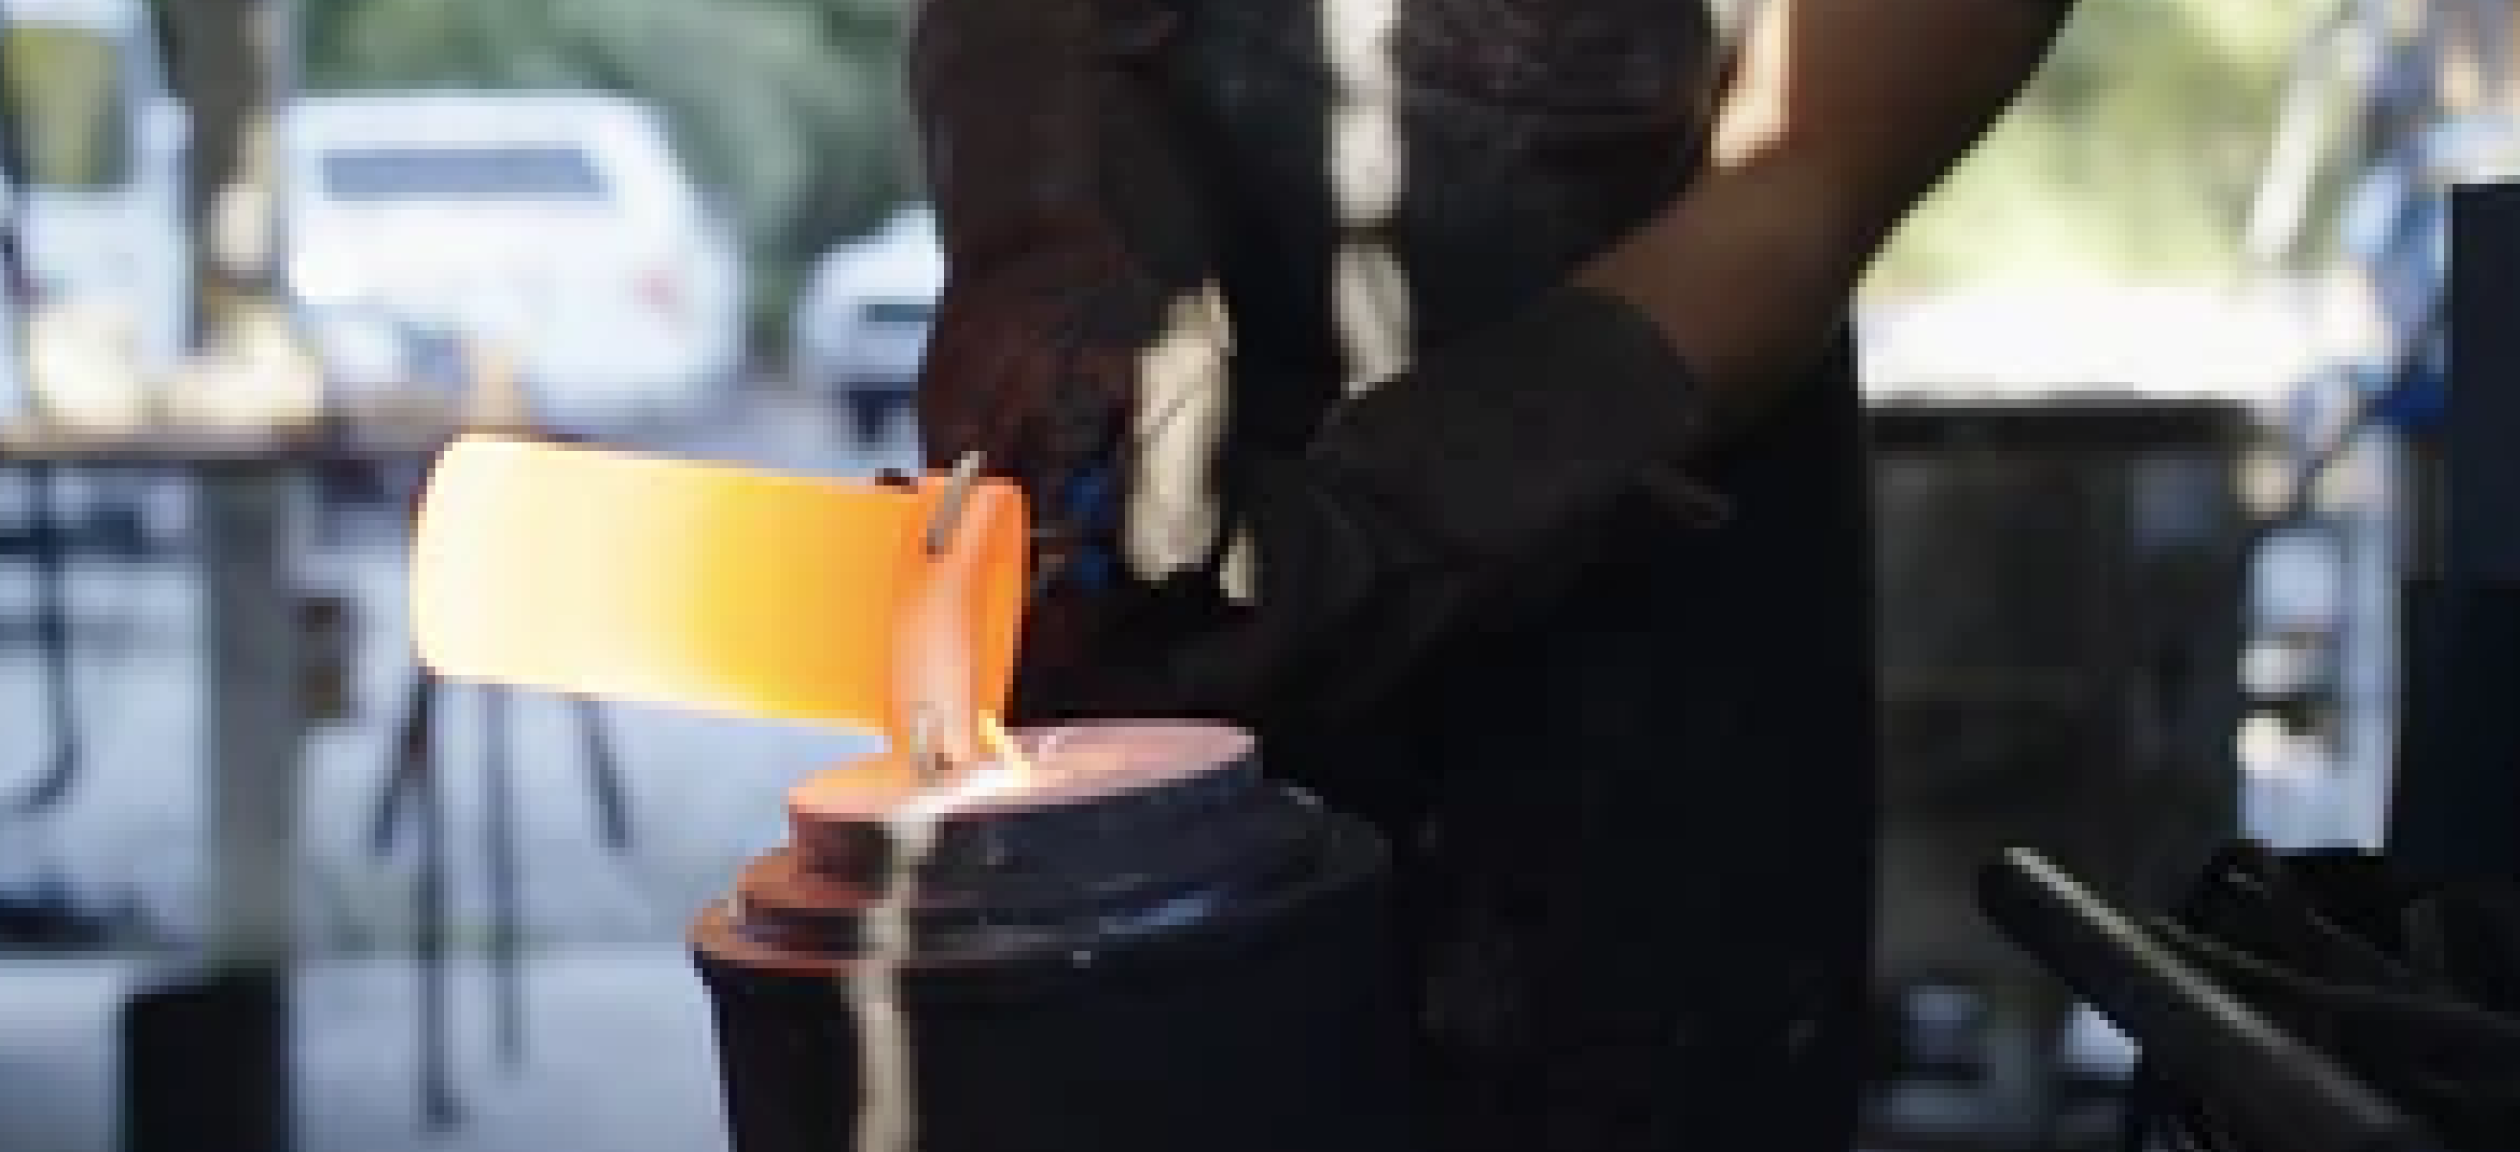
Once the mold heats up to a high temperature, the molten metal is poured into the hole left by the center sprue. From there, the rest of the “tree” is filled with molten metal, creating the jewelry in metal.
Once the mold heats up to a high temperature, the molten metal is poured into the hole left by the center sprue. From there, the rest of the “tree” is filled with molten metal, creating the jewelry in metal.
Once the mold heats up to a high temperature, the molten metal is poured into the hole left by the center sprue. From there, the rest of the “tree” is filled with molten metal, creating the jewelry in metal.

7.
7.
7.
Quenching & devesting
Quenching & devesting
Quenching & devesting
Each flask is dunked into water to help remove and dissolve the investment.
Each flask is dunked into water to help remove and dissolve the investment.
Each flask is dunked into water to help remove and dissolve the investment.
8.
8.
8.
Clip and clean
Clip and clean
Clip and clean
Each jewelry piece is clipped off the tree and tumbled along with these tiny, abrasive triangles. This helps remove any remaining investment and starts to smooth rough edges.
Each jewelry piece is clipped off the tree and tumbled along with these tiny, abrasive triangles. This helps remove any remaining investment and starts to smooth rough edges.
Each jewelry piece is clipped off the tree and tumbled along with these tiny, abrasive triangles. This helps remove any remaining investment and starts to smooth rough edges.


9.
9.
9.
Buffing and polishing
Buffing and polishing
Buffing and polishing
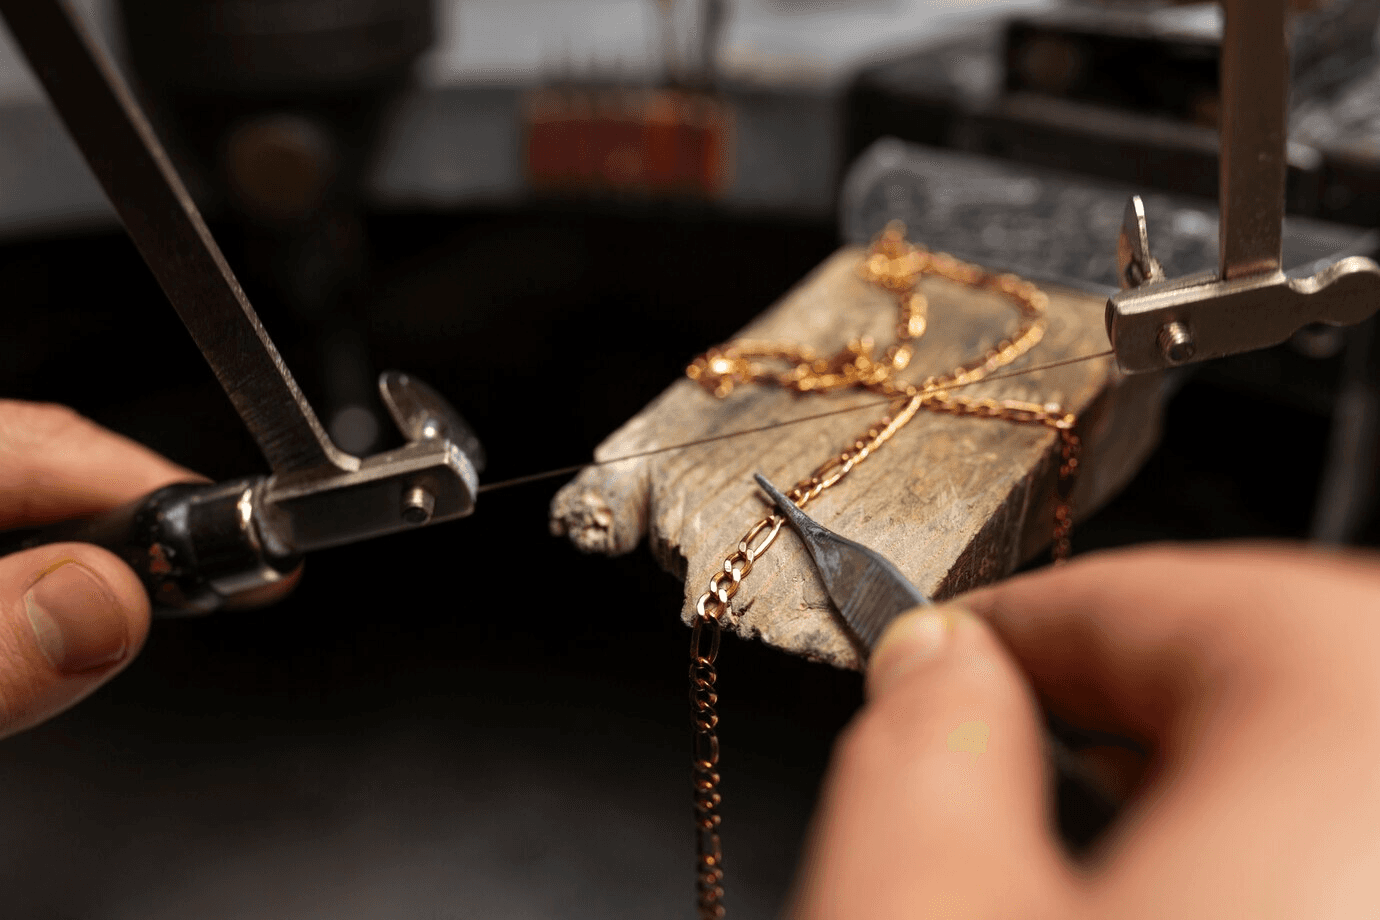
Using a variety of tools, our buffing team transforms each unfinished piece into its wearable form.
Using a variety of tools, our buffing team transforms each unfinished piece into its wearable form.
Using a variety of tools, our buffing team transforms each unfinished piece into its wearable form.
10.
10.
10.
Magnetic polishing
Magnetic polishing
Magnetic polishing
Tiny steel pins in a magnetic tumbler smooth out fine details and enhance the jewelry’s surface.
Tiny steel pins in a magnetic tumbler smooth out fine details and enhance the jewelry’s surface.
Tiny steel pins in a magnetic tumbler smooth out fine details and enhance the jewelry’s surface.


11.
11.
11.
Diamond settings
Diamond settings
Diamond settings
Expert artisans carefully set diamonds or gemstones, ensuring precision and a secure fit.
Expert artisans carefully set diamonds or gemstones, ensuring precision and a secure fit.
Expert artisans carefully set diamonds or gemstones, ensuring precision and a secure fit.
12.
12.
12.
Final polishing & gold plating + rhodium
Final polishing & gold plating + rhodium
Final polishing & gold plating + rhodium
The jewelry undergoes a final polish for a brilliant shine, followed by gold plating or rhodium coating for durability.
The jewelry undergoes a final polish for a brilliant shine, followed by gold plating or rhodium coating for durability.
The jewelry undergoes a final polish for a brilliant shine, followed by gold plating or rhodium coating for durability.

13.
13.
13.
Quality assurance
Quality assurance
Quality assurance
Each piece of MIMOSA is inspected before it ever makes its way to our assembly and shipping room.
Each piece of MIMOSA is inspected before it ever makes its way to our assembly and shipping room.
Each piece of MIMOSA is inspected before it ever makes its way to our assembly and shipping room.
